Here's a reminder of the flow, after getting rid of a quadrillion layers of paint. Put some epoxy primer to protect the car from rust. As far as I heard, nothing gets past this first layer (like vapors or solvents, not gamma rays, I mean), and it's important to get it right.
 |
| Bare metal in the chamber for epoxy treatment |
 |
| Sanded to the metal, ready for first layer bodywork |
 |
| Epoxy primer |
 |
| Epoxy primer |
 |
| Anti-corrosive epoxy treatment on the doors |
 |
| Same thing on the wings |
 |
So this gave me an idea,
but had to give up on it because I live in a stone age country
|
This first layer is sanded out until you can almost see the bare metal again, but be not alarmed: the epoxy is there. Then a layer of fiberglass/body filler is smeared on and the process of sanding is repeated. The function of this layer, as its other name suggests, is to even out the surface, cancelling the biggest irregularities and dimples.
 |
| After rust treatment it is time for some fiberglass |
 |
| Fiberglass body filler applied |
 |
| Fiberglass layer is sanded out (top) |
 |
| After fiberglass hardens it's sanded well |
Next step is to spray a layer of univeral body filler, which takes care of small scratches, nicely evening out the surface. After spraying, you probably guessed it: sand again. At this point, some folks can't resist the urge to stroke a fender or a door.
 |
| The univeral body filler after sanding |
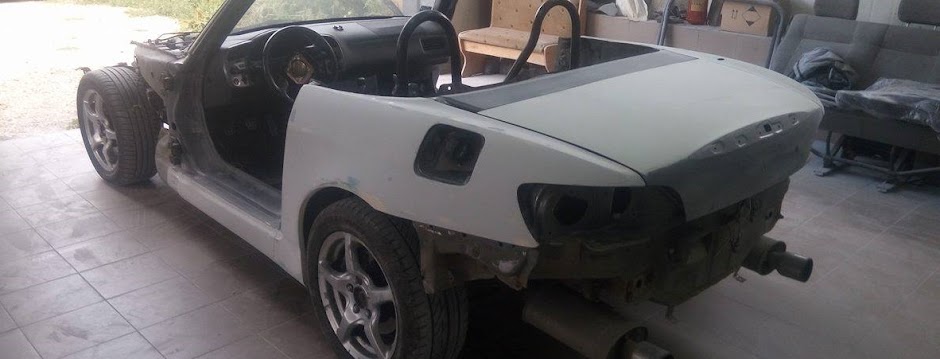
Another layer of epoxy primer is sprayed, then, sanded, after which a layer of polyester should be applied.
 |
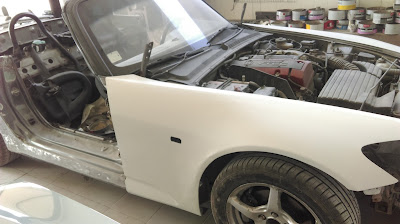
| Polyester primer on fender |
 |
| Polyester primer on door |
 |
| The interior parts are dealt with just as painstakingly |
Then it's sanding again. Then it's another layer of epoxy primer. All these layers, except for the fiberglass, are very very thin: hundredths of a millimeter.
It is now time for the 2k primer. This one looks glossy.
 |
| The writings have an actual use, aside from grafitti practice |
Anyone recognize this rear fender?
Sanding time.
 |
| Sanded 2k primer on the rear left wing |
 |
| Sanded rear right wing after 2k primer |
It is now only that the car is ready for actual paint, but that, my friends, in another post, another day. Here's a picture of me though, until then: